The “Crispy & Melty” DIY Taquitos
When you’re tasked with feeding a lively crowd for a healthy, “taco-loving” family on Cinco de Mayo, sometimes the best solution is turning dinner into an interactive assembly line. These DIY Taquitos combine warm tortillas, savory fillings, and melted cheese baked until crunchy and toasty right at home. It’s a “wholesome” twist that had the in-house testers absolutely thrilled—to the point where one could barely hear a muffled “pass another taquito” through bites of crunchy, warm goodness!
Why This Recipe Wins
- Customization Power: Setting up a DIY station with warm tortillas and varied toppings provides a “filling and tasty” setup that satisfies every palate and lets picky eaters take full ownership of their dinner.
- Fiesta Surprise: Moving away from a “standard tedious routine” of plating tacos individually turns a busy holiday evening into a “special holiday” event starring little hands busily creating their own custom mash-ups.
- Naturally Crispy & Melty: Balancing the crunchy, oven-toasted tortilla shell with savory meats and gooey melted cheese provides a “rich yet robust” flavor profile that delivers maximum crunch without deep frying.
- Party Platter Ease: These “kid-approved portions” bake all together on a single sheet pan, making them an ideal choice for effortless group entertaining and stress-free clean-up.
What You’ll Need
- The Rollable Canvas: Small corn or flour tortillas (warmed so they roll easily without splitting!).
- The Savory Fillings: Shredded chicken, seasoned ground turkey, slow-cooker pulled pork, or pressure-cooked pinto beans.
- The Gooey Melt: Shredded cheddar, Monterey Jack, or Mexican blend cheese to hold everything together.
- The Crispy Finish: Olive oil (or avocado oil cooking spray) to ensure a crunchy, golden exterior in the oven.
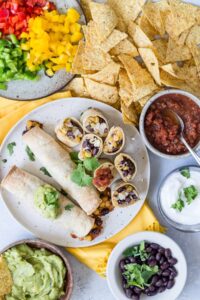
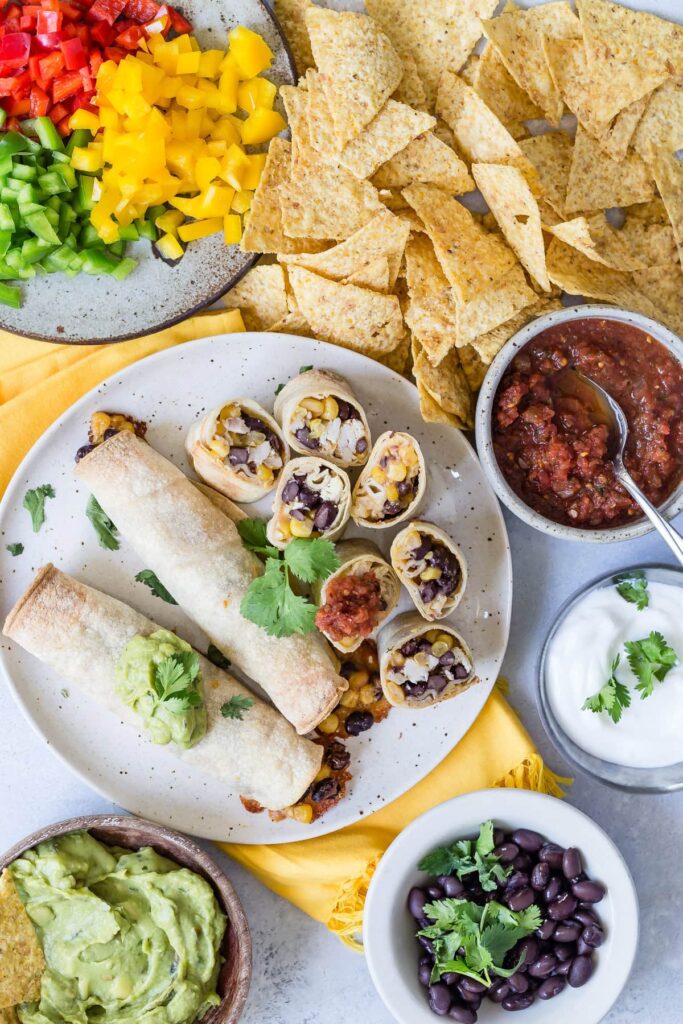
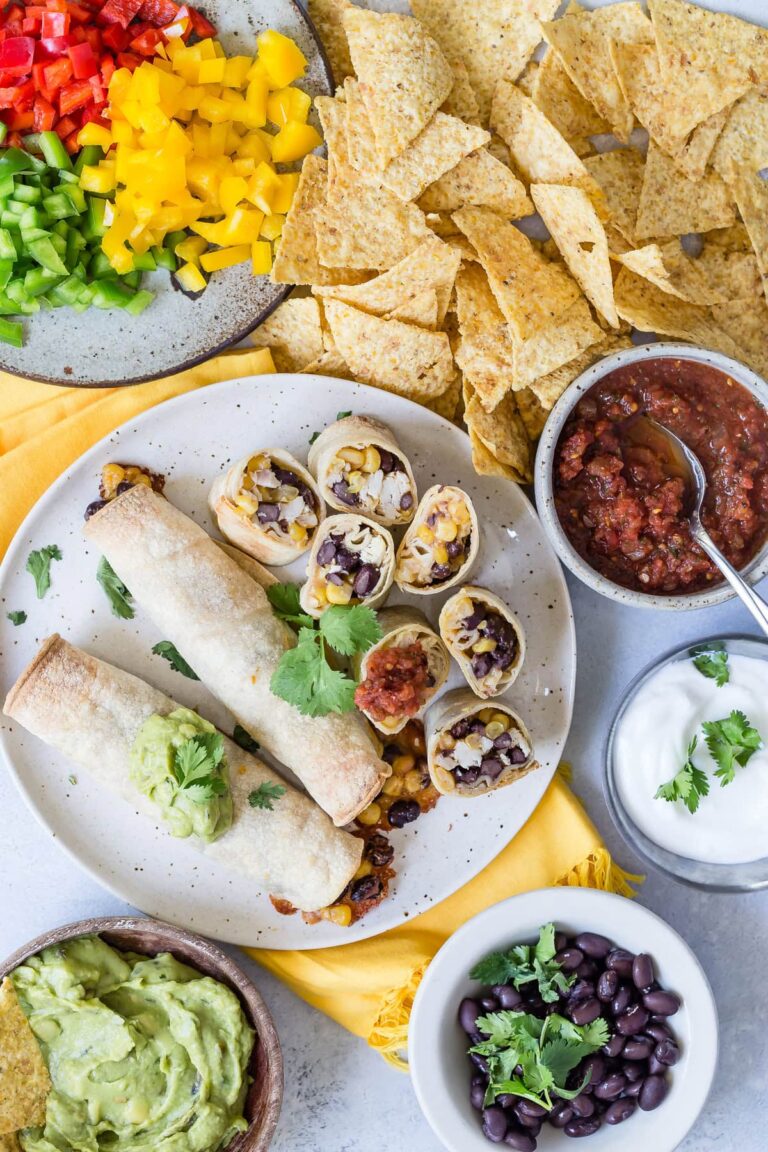
- The Festive Dippers: Fresh guacamole, sour cream (or plain Greek yogurt), salsa, and chopped cilantro for serving.
How to Make It
- The Tortilla Warm: Warm the tortillas in a dry skillet or between damp paper towels in the microwave so they stay pliable and don’t remain “perfectly crisp” and brittle before rolling.
- The DIY Counter Setup: Place the warm tortillas and bowls of fillings on the counter, letting everyone spoon about two tablespoons of filling and a pinch of cheese across the center.
- The Tight Roll: Roll each tortilla tightly and place it seam-side down on a parchment-lined baking sheet so they stay closed without needing toothpicks.
- The Golden Bake: Brush or spray the tops “thoroughly, but gently” with olive oil until they look completely “velvety smooth,” then bake at 425°F for 15 to 20 minutes until the edges take on a gorgeous, crunchy “golden-brown” finish.
- The Plate: Transfer to a large serving platter alongside bowls of guacamole and salsa for an interactive, “mess-proof” masterpiece!
Get the Kids Involved: The “Taquito Squad”
Since scooping fillings and rolling tortillas is super interactive, this is a “ton of fun” for kids to help assemble and enjoy.
- Ages 3–5: Let them be the “Cheese Sprinklers.” They can help scatter pinches of shredded cheese over the warm tortillas, practicing their “precision.”
- Ages 6–9: Have them help as “The Taquito Rollers.” Show them how rolling the tortillas tightly from the bottom up creates a “scrumptious” cylinder that keeps the filling securely tucked inside.
- Ages 10+: Let them lead the “Oil Brushing & Platter Setup.” Under supervision, they can brush the rolled taquitos with olive oil and look for the “magic crunch” as the shells turn golden in the hot oven.
Tips for Success
- Warm Tortillas are Crucial: If you attempt to roll cold corn tortillas, they will crack and spill their filling. Heating them until soft and flexible first is imperative to achieve that “tender and rich” roll that holds together effortlessly.
- Bake Seam-Side Down: The goal is a clean, tightly rolled finger food, so placing them seam-side down on the tray ensures the taquitos stay “refreshing and light” and set firmly as the cheese melts.
- The Freezer Trick: One can make a “huge batch” of rolled taquitos ahead of time, freezing them in a single layer on a baking sheet before transferring them to freezer bags so you can bake a batch straight from frozen whenever a quick dinner is needed!
Holiday Note: Keep little hands busy! Turning dinner into an interactive rolling station makes celebrating Cinco de Mayo a “quick and easy” win that gets everyone excited to eat.
- Variation: For a “decadent and indulgent” twist, serve a scoop of vanilla ice cream drizzled with warm Mexican Hot Fudge for dessert, or explore other festive Mexican kitchen staples like Mexican Tortilla Pizza, Pulled Pork Tacos made in the slow cooker, or Pressure Cooker Pinto Beans to elevate your holiday feast even further.
Serve & Savor
The DIY Taquitos are a “tantalizing taste sensation” that proves hands-on family meals can be “out of this world” fun, crunchy, and satisfying. It’s a “versatile” recipe that turns simple pantry ingredients and fresh fillings into a “memory-making” family favorite.
DIY Baked Taquitos
5 Stars 4 Stars 3 Stars 2 Stars 1 Star
No reviews
These crispy baked taquitos are filled with chicken, black beans, corn, and melty Mexican-blend cheese for an easy, customizable family meal.
Ingredients
-
½ cup cooked black beans
-
½ cup corn kernels
-
½ cup shredded cooked chicken
-
1 cup shredded Mexican-blend cheese
-
1 teaspoon ground cumin
-
¼ teaspoon garlic powder
-
½ teaspoon kosher salt
-
12 flour tortillas
Instructions
-
Preheat the oven. Heat the oven to 400°F. Line a baking sheet with aluminum foil and lightly coat it with cooking spray.
-
Prepare the filling. In a bowl, combine the black beans, corn, shredded chicken, Mexican-blend cheese, cumin, garlic powder, and salt. Mix until evenly distributed.
-
Fill the tortillas. Place about 2 tablespoons of filling near one edge of each tortilla. Avoid overfilling so the tortillas roll up neatly.
-
Roll the taquitos. Roll each tortilla tightly around the filling and place it seam-side down on the prepared baking sheet.
-
Add oil. Lightly spray the tops of the taquitos with cooking oil to help them brown and crisp.
-
Bake. Bake for about 25 minutes, until golden brown and crispy. Check that the filling is heated through before serving.
-
Serve. Allow the taquitos to cool briefly, then serve with your favorite dips or toppings.
Notes
-
Warm the tortillas: If the tortillas crack while rolling, warm them briefly according to the package directions to make them more flexible.
-
Keep the filling manageable: About 2 tablespoons per tortilla helps prevent the taquitos from splitting.
-
Place seam-side down: This helps keep the tortillas rolled during baking.
-
Leave space between taquitos: Arrange them in a single layer so hot air can circulate and the edges crisp.
-
Customize the filling: Set out the ingredients separately and let everyone choose their preferred combination before rolling.
- Author: Miks


0 comments on “DIY Baked Taquitos”Add yours →