The Ultimate Canvas for Holiday Creativity
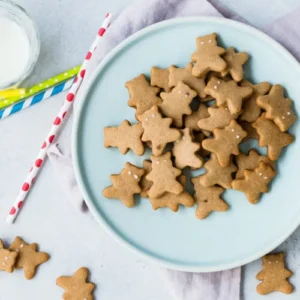
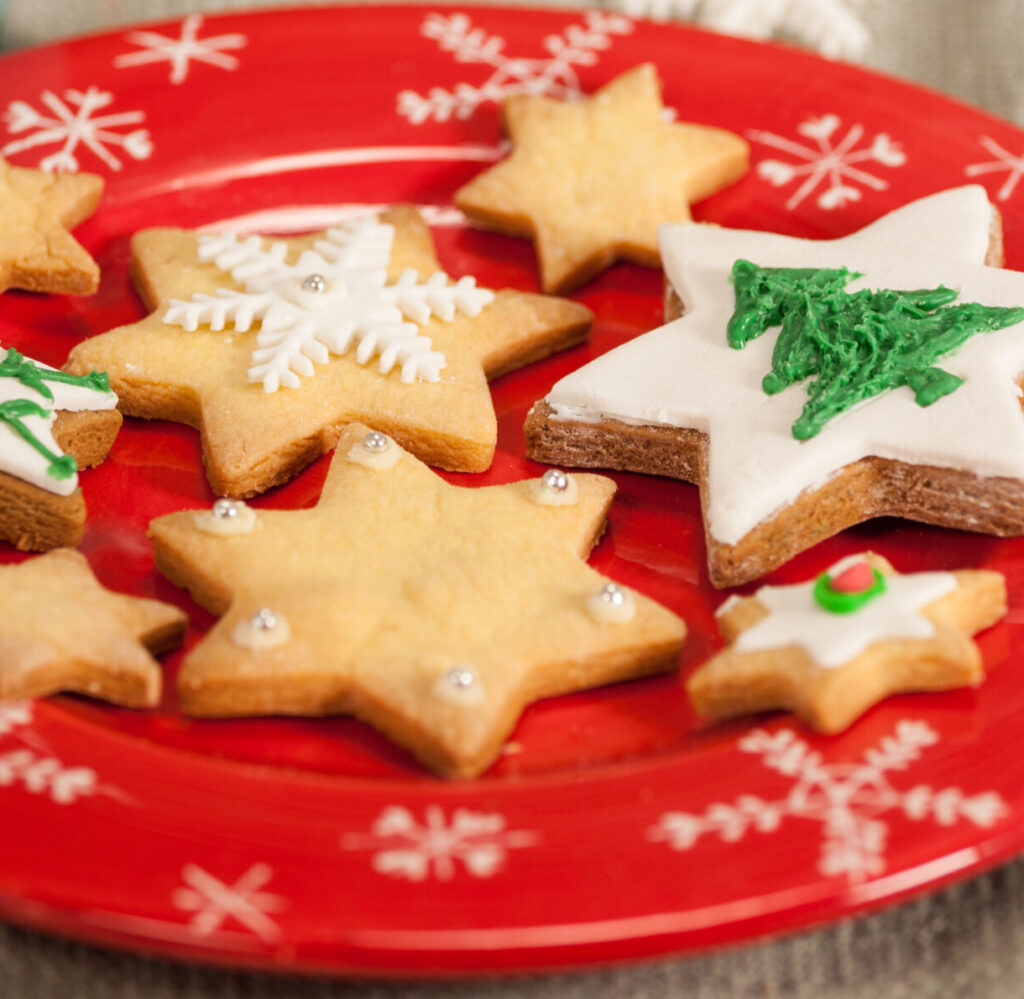
If there’s one treat that defines celebrations, it’s the Classic Sugar Cookie. These sweet, buttery staples are the heart of cookie exchanges and the highlight of rainy-day baking. Whether you are cutting out snowflakes for the holidays or hearts for a birthday, this recipe is designed to be easy to handle and even yummier to eat. Decorating these with kids is quite possibly the most fun you can have in a kitchen!
Why This Recipe Wins
- Make-Ahead Friendly: You can prep the dough while the kids are at school; it chills in the fridge, ready for baking whenever you are.
- Perfect Texture: Using unbleached all-purpose flour gives these cookies the “perfect bite”—sturdy enough for icing but tender enough to melt in your mouth.
- Year-Round Versatility: Just swap your cookie cutters! These are just as at home at a summer pool party as they are at a December cookie swap.
- Crowd-Pleaser: In a sea of fancy desserts, everyone always reaches for a beautifully decorated sugar cookie.
What You’ll Need
For the Cookies:
- Unbleached All-Purpose Flour: The foundation for a consistent, professional crumb.
- Butter: Room temperature is key! It doesn’t matter if it’s salted or unsalted, as long as it’s soft enough to cream.
- Sugar: The star of the show for that classic sweetness.
- Egg & Vanilla: To bind the dough and provide that nostalgic aroma.
For the Icing:
- Powdered Sugar: For a smooth, sweet finish.
- Milk: To adjust the consistency until it’s perfectly dippable or pipeable.
How to Make It
- The Dry Mix: Sift (or whisk thoroughly) your flour, baking powder, and salt.
- The Creaming: Beat the butter and sugar for 3 minutes until light and fluffy. Add the egg and vanilla.
- The Dough: Slowly mix in the flour until the dough forms. Divide into two discs, wrap in plastic, and chill for at least 30 minutes (or overnight).
- The Roll: Roll the dough to 1/4-inch thickness on a lightly floured surface.Tip: Use rulers on either side of your dough to ensure a perfectly even thickness!
- The Cut & Bake: Use your favorite cutters and transfer to a lined sheet using a flat spatula. Bake at 325°F until the edges are just barely golden.
- The Decor: Let them cool completely, then whip up your icing and get creative!
Get the Kids Involved: The “Cookie Architects”
Sugar cookies are the ultimate entry-point for kids learning to bake.
- Ages 3–5: Let them be the “Shape Selectors.” They can choose the cookie cutters and help press them into the dough.
- Ages 6–9: Have them help transfer the cookies. Using a flat spatula to move a raw cookie without stretching it is a great lesson in “kitchen patience.”
- Ages 10+: Let them lead the “Icing Consistency.” Have them add the milk to the powdered sugar one teaspoon at a time until it reaches the perfect “flow.”
Tips for Perfect Cookies
- Don’t Skip the Chill: Chilling the dough isn’t just a suggestion—it’s what keeps your stars from turning into blobs in the oven!
- The Test Bake: If you’re nervous about your oven’s “hot spots,” bake just one cookie first to nail down the exact timing.
- Spatula Secret: Use a wide, flat metal spatula to move your cutouts. This keeps the edges crisp and the shapes perfect.
- Storage: These stay fresh in an airtight container for up to 5 days, or you can freeze the undecorated cookies for up to 2 months.
Serve & Savor
Whether you’re stacking these in a gift tin or serving them with a cold glass of milk, these cookies are a guaranteed hit. They are simple, soulful, and classic.
Print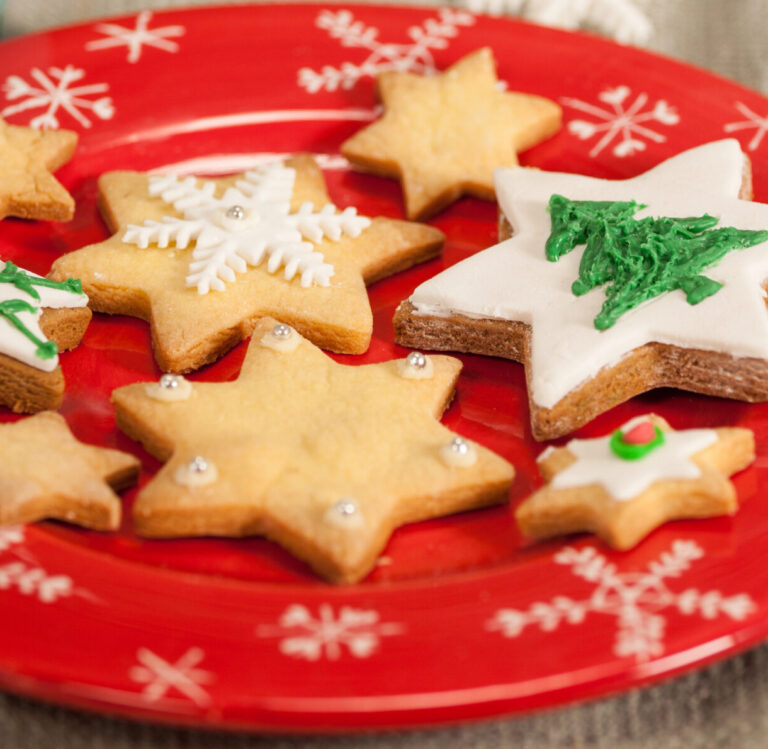
Classic Sugar Cookies
A foundational creamed-butter cookie with moderate spread, crisp edges, and a tender interior—optimized for cut-out shapes and decorative icing adhesion.
- Total Time: 1 hour 10 minutes
- Yield: About 36 cookies
Ingredients
Cookies
-
3 cups all-purpose flour
-
2 teaspoons baking powder
-
1/4 teaspoon kosher salt
-
1 cup butter, softened
-
1 cup granulated sugar
-
1 large egg
-
1 1/2 teaspoons vanilla
Simple Icing
-
1 cup powdered sugar
-
1–2 tablespoons milk
Instructions
1. Dry Integration
Sift flour, baking powder, and salt to ensure uniform leavening distribution.
2. Creaming Phase
Using a mixer, cream butter and sugar 3 minutes (medium–high speed) until light and aerated. This incorporates air, influencing final crumb structure.
3. Emulsification
Add egg and vanilla; mix until fully incorporated.
4. Dough Formation
Reduce speed to low. Gradually add dry mixture until dough just comes together. Avoid overmixing to prevent excess gluten development.
5. Chill
Divide into two flattened discs. Wrap tightly and refrigerate minimum 30 minutes (up to overnight).
Roll, Cut & Bake
-
Preheat oven to 350°F (175°C).
-
Rest chilled dough 10 minutes for workable pliability.
-
Roll to 1/4-inch uniform thickness on a lightly floured surface.
-
Cut desired shapes with cookie cutters.
-
Transfer to lined baking sheet using a wide spatula.
-
Bake 8–10 minutes, rotating halfway, until edges are lightly golden.
-
Cool completely on rack before icing.
Icing Preparation
Whisk powdered sugar with milk (start with 1 tablespoon, adjust as needed).
-
Thicker icing → less milk (outline piping)
-
Thinner icing → more milk (flooding consistency)
Decorate once cookies are fully cooled to prevent melting.
Notes
-
Even Thickness: Use rolling guides or stacked rulers for uniform baking.
-
Test Bake: If oven calibration is uncertain, bake one cookie to confirm timing.
-
Storage: Store undecorated cookies airtight for up to 5 days; decorated cookies should be single-layered once icing sets.
This formulation provides structural reliability for intricate holiday shapes while maintaining classic sugar cookie flavor and texture.
- Prep Time: 20 minutes
- Chill: 40 minutes
- Cook Time: 10 minutes
- Category: Dessert
- Cuisine: American