Print
Maple Pumpkin Pie
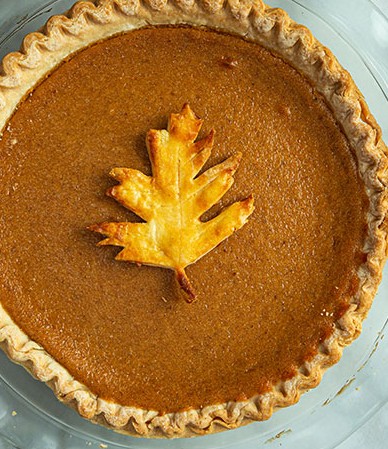
Maple Pumpkin Pie is a healthier twist on the classic holiday dessert, naturally sweetened with maple syrup and packed with warm fall spices. It’s rich, smooth, and perfect for your Thanksgiving table.
Ingredients
Scale
Maple Pumpkin Pie Filling:
- 2 large eggs, whisked
- 15 oz pumpkin puree (canned or homemade)
- 1/4 cup maple syrup
- 1/2 cup brown sugar, packed
- 1/2 teaspoon kosher salt
- 2 teaspoons pumpkin pie spice
- 12 oz evaporated milk
Pie Crust (1 deep dish):
- 1 1/3 cups all-purpose flour
- 1/2 teaspoon kosher salt
- 1/2 teaspoon sugar
- 1/2 cup butter, cubed and chilled
- 2–3 tablespoons water
Instructions
1. Prepare the Pie Crust (Optional Homemade)
- In a food processor, pulse flour, salt, and sugar.
- Add cold butter and pulse until mixture resembles coarse crumbs.
- Add water gradually (1 tablespoon at a time) until dough forms.
- Shape into a disk, wrap, and refrigerate for 1 hour.
2. Preheat Oven
- Preheat to 350°F (175°C).
3. Make the Filling
- In a large bowl, whisk together all filling ingredients until smooth and fully combined.
4. Roll & Shape Crust
- Roll dough between parchment sheets to 1/4-inch thickness.
- Fit into a deep dish pie pan.
- Fold edges and crimp as desired.
- Prick the bottom with a fork (don’t go all the way through).
5. Par-Bake the Crust
- Line crust with parchment paper and fill with pie weights or dried beans.
- Bake for 15 minutes.
- Remove weights and parchment.
6. Fill & Bake
- Pour pumpkin filling into the crust.
- Bake for 1 hour 15 minutes, or until the center is set.
7. Cool & Serve
- Let cool completely, then refrigerate until chilled.
- Serve with whipped cream if desired.
Notes
- Don’t skip par-baking: Prevents a soggy crust.
- Check doneness: Center should be slightly jiggly but set.
- Chill before serving: Improves texture and flavor.
- Crust shortcut: Store-bought crust works perfectly.
- Storage: Refrigerate for up to 4 days.
- Make ahead: Ideal to prepare a day in advance for best results.