Print
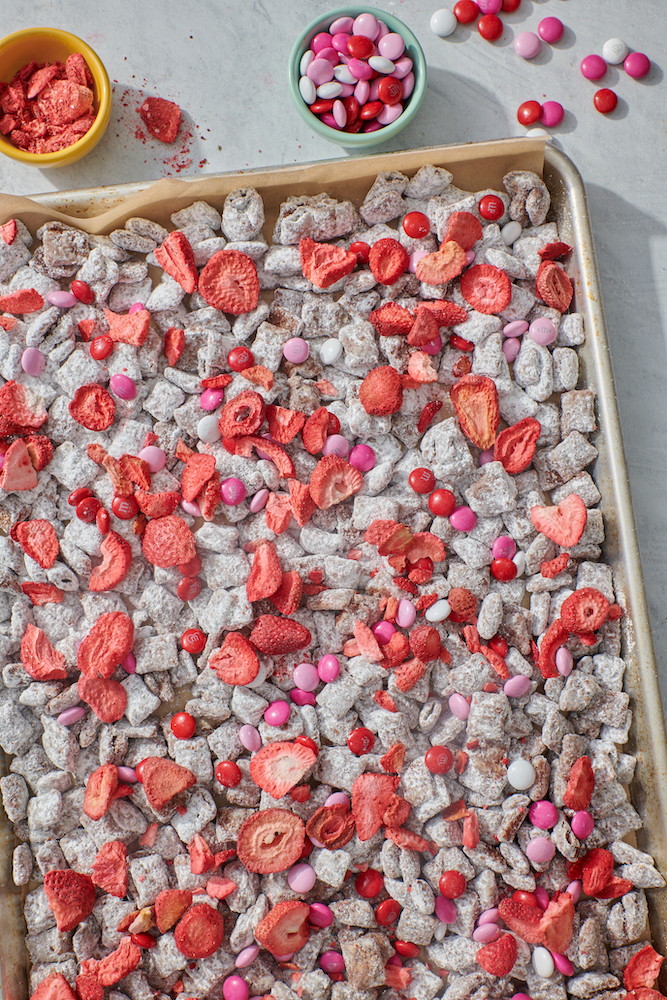
Valentine’s Day Puppy Chow
Christmas Tree Brownies are a festive, chocolatey holiday treat that’s fun to decorate and perfect for kids and parties. Rich fudgy brownies are cut into tree shapes and topped with colorful icing and sprinkles.
Ingredients
Scale
For the Brownies:
- 3/4 cup all-purpose flour
- 3/4 cup cocoa powder
- 3/4 teaspoon kosher salt
- 15 tablespoons unsalted butter, melted
- 1 1/2 cups sugar
- 2 teaspoons vanilla extract
- 3 large eggs
For decorating
- 1 cup powdered sugar
- 1-2 tablespoons milk
- Green food coloring
- Holiday sprinkles
Instructions
1. Make the Brownies
- Preheat oven to 325°F (165°C).
- In a bowl, mix flour, cocoa powder, and salt. Set aside.
- In another bowl, beat melted butter, sugar, and vanilla until combined.
- Add eggs one at a time, mixing well after each addition.
- Gradually mix in dry ingredients until fully combined.
2. Bake
- Pour batter into a greased and parchment-lined 9×13 baking dish.
- Bake for 30 minutes.
- Allow brownies to cool completely.
3. Cut Shapes
- Use a Christmas tree cookie cutter to cut shapes.
- Cut close together, starting at the edges to maximize pieces.
4. Prepare Icing
- Mix powdered sugar and milk to form a smooth icing.
- Divide into two bowls.
- Add green food coloring to one portion.
- Transfer icings into separate ziplock bags.
- Snip a small corner for piping.
5. Decorate
- Pipe zigzag patterns across each brownie tree using both icings.
- Immediately add sprinkles before icing sets.
6. Serve
- Let icing set slightly, then serve and enjoy.
Notes
- Chill before cutting: Cold brownies cut cleaner and hold shape better.
- Control your piping: Start with a small cut in the bag for precision.
- Sprinkle timing matters: Add right after piping so they stick well.
- Maximize yield: Cut shapes tightly together to reduce waste.
- Storage: Keep in an airtight container for up to 4 days.