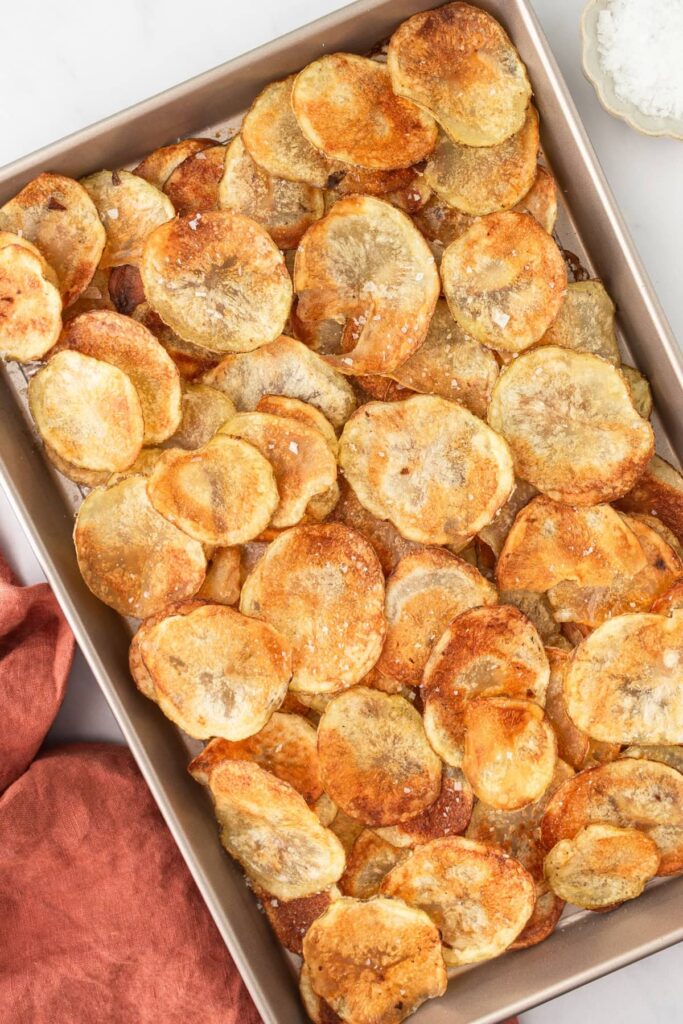
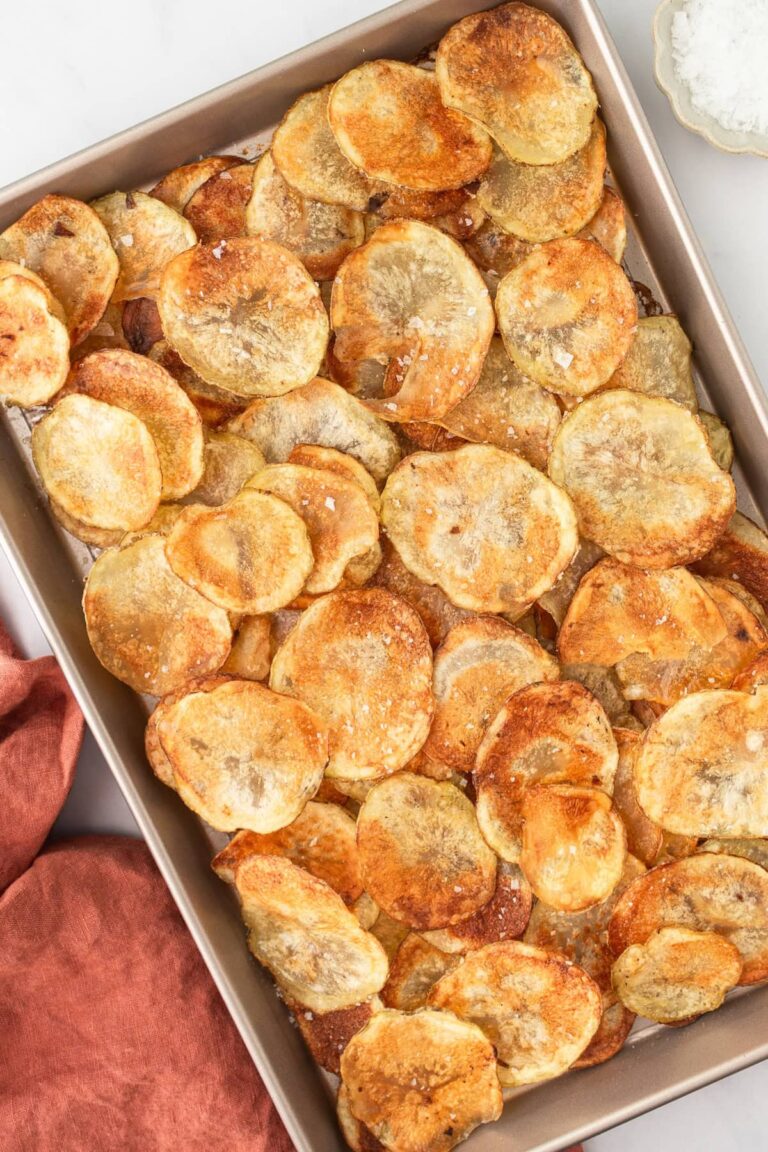
The “Crispy & Salty” Homemade Baked Potato Chips
When you’re tasked with reinventing a classic snack for a healthy, “no-fryer-needed” family treat, sometimes the best solution is to use fresh farmers’ market potatoes. These Homemade Baked Potato Chips use thinly sliced potatoes, a touch of oil, and salt to create a crunchy, oven-baked snack right at home. It’s a “wholesome” twist that had the in-house testers absolutely thrilled—to the point where one could barely hear a muffled “pass another chip” through bites of crispy, salty goodness!
Why This Recipe Wins
- Three-Ingredient Power: By incorporating fresh potatoes directly into a simple bake, the dish provides a “filling and tasty” alternative to mysterious bagged snacks with no weird additives.
- Farmers’ Market Surprise: Moving away from a “standard tedious routine” of deep-fried, store-bought chips makes a Sunday afternoon snack feel like a “special holiday” treat.
- Naturally Crispy: Slicing the potatoes thinly and baking them provides a “rich yet robust” crunch without a deep fryer.
- Budget-Friendly Ease: These “kid-approved portions” are cheaper than store-bought and ready in just 30 minutes, making them an ideal choice for quick sides.
What You’ll Need
- The Starchy Base: Fresh potatoes (Russet, Yukon Gold, or sweet potatoes) brought home from the local farm stand.
- The Crisping Agent: A light coating of cooking oil to help them toast in the oven.
- The Flavor Enhancer: Sea salt or kosher salt for that classic potato chip finish.
- The Essential Tool: A mandoline slicer or sharp knife, plus clean kitchen towels to dry the slices.
How to Make It
- The Slice: Cut the potatoes into thin, uniform slices so they are primed to bake evenly and get “perfectly crisp” from edge to edge.
- The Dry: Pat the slices completely dry with a kitchen towel; removing the moisture ensures the starch cooks beautifully and stays “velvety smooth” on the interior.
- The Toss: Toss the dry slices in oil and salt, coating them “thoroughly, but gently.”
- The Bake: Spread the slices in a single layer on a baking sheet, ensuring they have enough space to roast without steaming, until they turn a gorgeous “golden-brown.”
- The Plate: Let them cool slightly for maximum crunch, then serve alongside a burger for a satisfying, “mess-proof” masterpiece!
Get the Kids Involved: The “Chip Crew”
Since drying and arranging slices is super interactive, this is a “ton of fun” for kids to help assemble and enjoy.
- Ages 3–5: Let them be the “Potato Patters.” They can help gently pat the potato slices dry with a towel, practicing their “precision.”
- Ages 6–9: Have them help as “The Salt Sprinklers.” Show them how dusting the oiled chips with salt creates a “scrumptious” and savory bite.
- Ages 10+: Let them lead the “Tray Spacing.” Under supervision, they can arrange the slices in a single layer on the pan and look for the “magic crunch” as they bake in the oven.
Tips for Success
- Drying is Crucial: If you leave moisture on the potatoes, they will steam instead of crisping. Patting them completely dry is imperative to achieve that “tender and rich” shatter-crisp texture (just like making hash browns!).
- Give Them Space: The goal is a perfect crunch, so spacing them out in a single layer on the pan ensures the chips stay “refreshing and light” rather than soggy.
- The Slicer Trick: One can make a “huge batch” of perfectly uniform chips by using a mandoline slicer to guarantee they all cook at the exact same rate.
Lunchbox Note: Tuck a handful of these baked chips next to a Chicken Pesto Wrap! It makes adding a crunchy side to school lunches a “quick and easy” task that beats bagged chips any day.
- Variation: For a “decadent and indulgent” twist, toss the chips with garlic powder, smoked paprika, or a dusting of parmesan cheese before baking to elevate the flavor profile even further.
Serve & Savor
The Homemade Baked Potato Chips are a “tantalizing taste sensation” that proves simple 3-ingredient snacks can be “out of this world” delicious. It’s a “versatile” recipe that turns Sunday farmers’ market hauls into a “memory-making” family favorite.
Homemade Baked Potato Chips
5 Stars 4 Stars 3 Stars 2 Stars 1 Star
No reviews
Crispy, golden, and made with just three simple ingredients, these Homemade Baked Potato Chips are an easy snack without the deep fryer. They’re ready in about 30 minutes and just as fun to make as they are to eat.
Ingredients
- 2 potatoes, such as russet, Yukon Gold, or sweet potatoes
- 1 tablespoon vegetable, olive, or avocado oil, plus extra for greasing
- Sea salt or kosher salt, to taste
Instructions
- Get the oven ready: Preheat the oven to 400°F. Lightly grease two baking sheets with oil.
- Slice the potatoes: Using a mandolin or sharp knife, slice the potatoes into thin rounds, about 1/8 inch thick. Try to keep the slices as even as possible so they cook at the same rate.
- Dry them well: Lay the potato slices on a clean kitchen towel or paper towels and pat them completely dry. This helps them crisp up in the oven.
- Season: Place the potatoes in a bowl or resealable bag. Add the oil and salt and toss until evenly coated.
- Arrange: Spread the slices in a single layer on the prepared baking sheets. Make sure they don’t overlap.
- Bake until crispy: Bake for 15 minutes, then flip each chip. Continue baking for another 5–10 minutes, watching closely toward the end. Some chips may finish before others, so remove them as they turn golden and let the rest continue baking.
- Cool and crunch: Let the chips cool for a few minutes. They’ll continue to crisp as they cool.
Notes
- Dry the potatoes well: Excess moisture makes it harder to get those crispy edges.
- Keep slices even: Thin, evenly sliced potatoes will bake more consistently.
- Don’t crowd the pans: Overlapping slices can steam instead of crisp.
- Watch the final minutes: Chips can go from golden to burnt quickly.
- Ovens vary: Start checking early, especially if your slices are very thin.
- Author: Miks