Ingredients
-
2 tablespoons olive oil
-
1 medium onion, diced
-
3 garlic cloves, minced
-
1 pound ground beef
-
2 teaspoons kosher salt
-
1 teaspoon chili powder (add 1 more teaspoon for extra heat)
-
1 1/2 teaspoons smoked paprika
-
2 teaspoons cumin
-
1 (15-ounce) can kidney or black beans, drained and rinsed
-
1 (15-ounce) can chopped tomatoes (fire-roasted for deeper flavor)
-
Juice of 1 lime
-
1/2 pound McCain Smiles
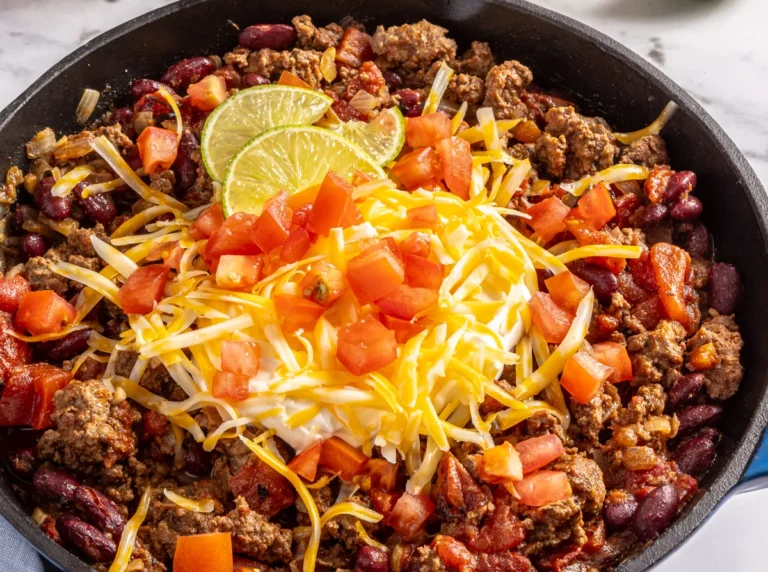
Optional Toppings:
Sour cream, grated mozzarella, cheddar or Mexican blend cheese, diced tomatoes, diced onion
Instructions
Heat olive oil in a large cast iron skillet over medium heat. Add the diced onion and sauté for 4–5 minutes, until softened.
Step 2: Add GarlicStir in the minced garlic and cook for 1 minute until fragrant.
Step 3: Brown the BeefAdd ground beef, salt, chili powder, smoked paprika, and cumin. Cook for about 5 minutes, breaking the beef apart, until fully browned.
Step 4: SimmerStir in the beans, chopped tomatoes, and freshly squeezed lime juice. Simmer for an additional 3 minutes to allow the chili to thicken slightly and heat through.
Step 5: Cook the SmilesWhile the chili cooks, prepare the Smiles in an air fryer or oven according to package directions until golden and crispy.
Step 6: ServeSpoon chili into bowls and top with crispy Smiles. Serve with toppings on the side so everyone can customize their bowl.
Notes
Adjust the Thickness
Simmer uncovered for a thicker, heartier chili. For a thinner consistency, add a splash of broth.
Make It Ahead
Chili tastes even better the next day. Double the batch and freeze some for later — just be sure to use a larger pot if doubling.
Create a Chili Bar
Set out toppings and let everyone build their own bowl. It makes dinner interactive and fun for kids.
Storage
Allow chili to cool completely before storing in an airtight container in the refrigerator for up to 4 days. Reheat on the stovetop until warmed through. Add freshly cooked Smiles before serving.
Freezing
Store cooled chili (without Smiles) in an airtight container and freeze for up to 3 months. Thaw overnight in the refrigerator and reheat gently. Prepare Smiles fresh on serving day so they stay crispy.