The “Lunchbox Hero” Homemade Uncrustables
When you’re tasked with packing a fun school lunch for a healthy, “sandwich-loving” family without battling the daily crust complaints, sometimes the best solution is a game-changing freezer stash. Embracing the DIY magic, these Homemade Uncrustables deliver delightful pocket sandwiches that are an absolute lifesaver on chaotic mornings right at home. It’s a “wholesome” twist that had the in-house testers absolutely thrilled—to the point where one could barely hear a muffled “pass another sandwich” through bites of sweet, crust-free goodness!
Why This Recipe Wins
- Personalized Power: By customizing the fillings to match your child’s exact taste buds—from classic PB&J to turkey and cheese—the recipe provides a “filling and tasty” lunch box hit where the options are truly endless.
- Lunchbox Surprise: Moving away from a “standard tedious routine” of untouched crusts turns an ordinary school lunch into a “special holiday” event starring fun shapes and crimped edges.
- Naturally Wholesome: Balancing high-quality whole-grain bread with natural nut butter and homemade fruit preserves provides a “rich yet robust” flavor profile that beats processed, pre-packaged options any day.
- Freezer-Stash Ease: These “kid-approved portions” are budget-friendly and freeze perfectly, making them an ideal choice for conquering chaotic mornings when you need to grab, pack, and go.
What You’ll Need
- The Soft Canvas: Classic store-bought sandwich bread (a soft loaf works best here, rather than a stiff artisanal sourdough which won’t crimp easily).
- The Flavorful Core: 1 tablespoon of peanut butter (or natural seed butter) and 1 tablespoon of fruit preserves. Savory options like hummus and chopped veggies work beautifully, too!
- The Sealer Tool: A dedicated sandwich sealer, or simply a cookie cutter (or the mouth of a large wide glass) paired with a standard fork.
How to Make It
- The Spread: Spread the peanut butter “thoroughly, but gently” onto the center of one slice of bread until it looks completely “velvety smooth,” then top directly with a dollop of preserves.
- The Sandwich Crown: Place the second piece of bread on top, making sure not to spread the filling all the way to the edge so the borders don’t remain “perfectly crisp” and refuse to seal.
- The Cut & Seal: Press your sandwich cutter (or a large glass) down firmly to cut the shape and remove the excess crusts. If using a glass, use the tines of a fork to press down the edges to adhere them tightly, giving the crimped border a gorgeous, bakery-style “golden-brown” look without any actual baking!
- The Freezer Chill: Place the assembled sandwiches in a single layer on a baking sheet to freeze firm for an hour before transferring to a zip-top bag to prevent freezer burn, creating a grab-and-go, “mess-proof” masterpiece!
Get the Kids Involved: The “Uncrustable Squad”
Since stamping shapes and crimping edges is super interactive, this is a “ton of fun” for kids to help assemble and enjoy.
- Ages 3–5: Let them be the “Bread Stampers.” They can help press the cookie cutter or glass firmly down into the soft bread, practicing their “precision.”
- Ages 6–9: Have them help as “The Fork Crimpers.” Show them how pressing the fork around the edges creates a “scrumptious” and tight seal to lock in the jelly.
- Ages 10+: Let them lead the “Filling & Assembly.” Under supervision, they can measure the peanut butter and preserves, looking for the “magic seal” as the pocket sandwich comes together seamlessly.
Tips for Success
- Avoid Runny Fillings: If you use watery jam or overfill the center, the sandwich will leak and become soggy during the thaw. Keeping the filling modest and thick is imperative to achieve that “tender and rich” bite that survives the lunchbox.
- Save the Crusts: The goal is zero food waste, so tossing the removed crusts into a bag to make homemade croutons, breadcrumbs, or Cinnamon Toast Pinwheels ensures your kitchen stays “refreshing and light” on the grocery budget.
- The Lunchbox Thaw Trick: One can make a “huge batch” of these sandwiches on Sunday; simply pull a frozen pocket out in the morning and tuck it straight into the lunchbox, where it will thaw perfectly at room temperature for a “quick and easy” meal by noon!
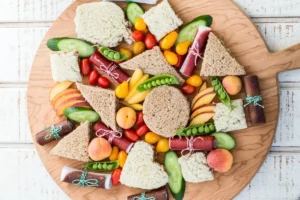
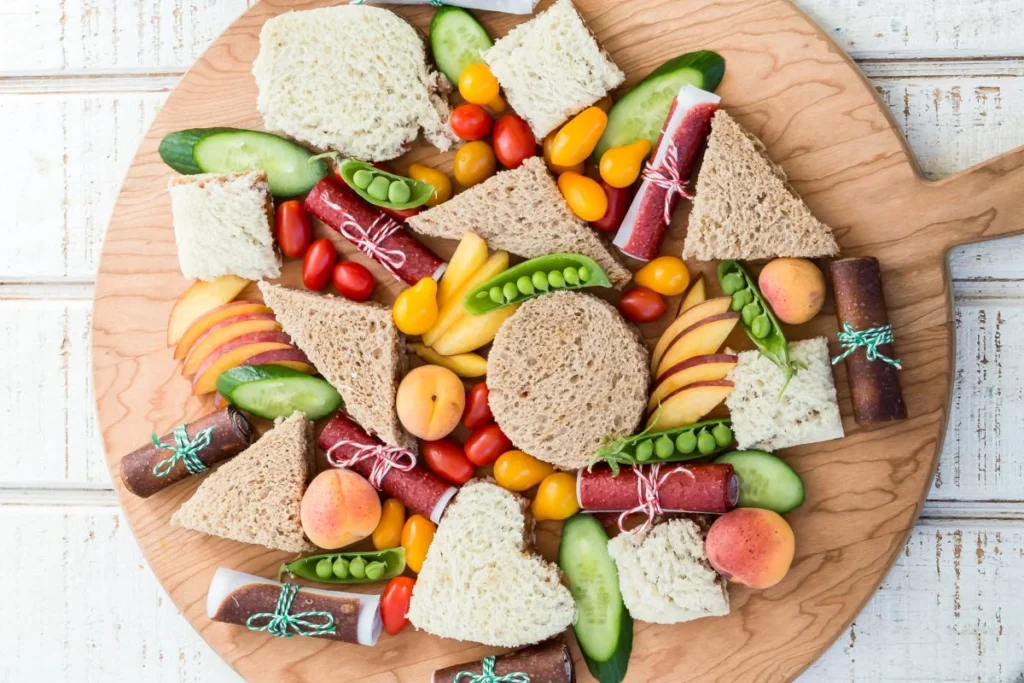
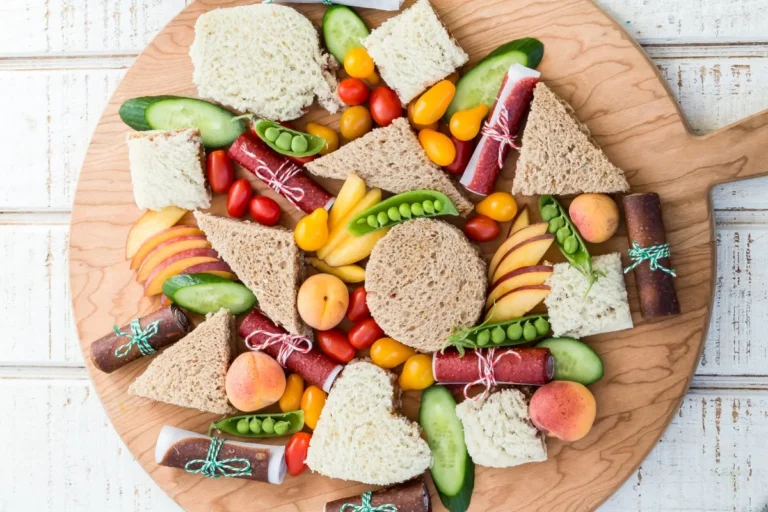
Lunch Note: Serve it up right! Tucking one of these homemade pockets onto a big fun platter complete with fresh vegetables, fruit leather, and fresh berries makes lunchtime a “quick and easy” win that kids absolutely devour.
- Variation: For a “decadent and indulgent” twist, fill the center with a swipe of cream cheese and fresh strawberry slices, or spread chocolate hazelnut spread and bananas inside to elevate your sweet treat rotation even further.
Serve & Savor
The Homemade Uncrustables are a “tantalizing taste sensation” that proves DIY lunchbox staples can be “out of this world” fun, wholesome, and completely stress-free. It’s a “versatile” recipe that turns a simple PB&J into a “memory-making” family favorite.
Homemade Uncrustables
5 Stars 4 Stars 3 Stars 2 Stars 1 Star
No reviews
These homemade Uncrustables are easy, freezer-friendly sandwiches filled with creamy nut butter and fruit preserves in fun shapes.
Ingredients
-
8 slices sandwich bread
-
8 tablespoons peanut butter
-
8 tablespoons fruit preserves
-
Almond butter, cashew butter, or sunflower seed butter, optional
Instructions
-
Spread 1 tablespoon peanut butter evenly over one slice of sandwich bread.
-
Spoon 1 tablespoon fruit preserves over the peanut butter, keeping the filling slightly away from the edges.
-
Top with another slice of bread and gently press the sandwich together.
-
Use a sandwich sealer, cookie cutter, or the rim of a large glass to cut the sandwich into your desired shape.
-
If using a cookie cutter or glass, remove the excess bread around the sandwich.
-
Use a fork to firmly press around the edges, sealing the two slices of bread together. If using a sandwich sealer, follow the manufacturer’s instructions.
-
Repeat with the remaining bread, peanut butter, and preserves.
-
Arrange the finished sandwiches in a single layer on a baking sheet and freeze for about 1 hour, or until firm.
-
Transfer the frozen sandwiches to an airtight container or zipper bags for storage.
Notes
-
Keep the filling centered: Leave a small border around the bread so the preserves don’t squeeze out when sealing.
-
Seal like a pro: Press firmly around the entire edge with a fork or sandwich sealer to prevent leaks.
-
Don’t waste the crusts: Save trimmed bread for breadcrumbs, croutons, or another snack.
-
Freeze before storing: Freezing the sandwiches in a single layer first helps them hold their shape.
-
Make a batch: Prepare several sandwiches at once and keep them frozen for quick breakfasts, lunches, or snacks.
- Author: Miks


0 comments on “Homemade Uncrustables”Add yours →