" "

Herb Brined Turkey

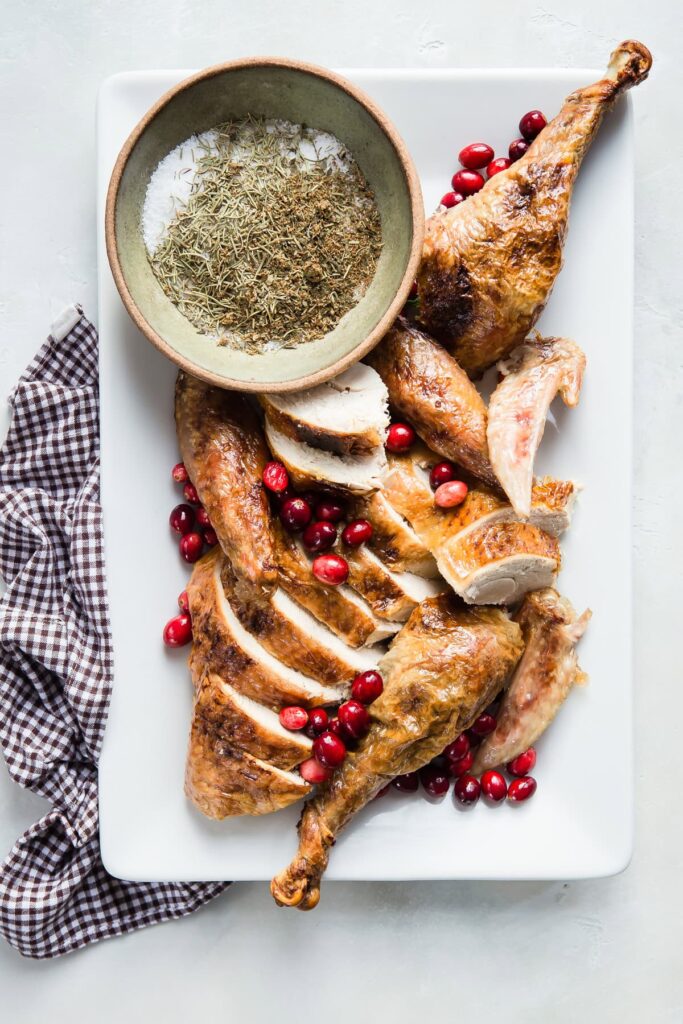
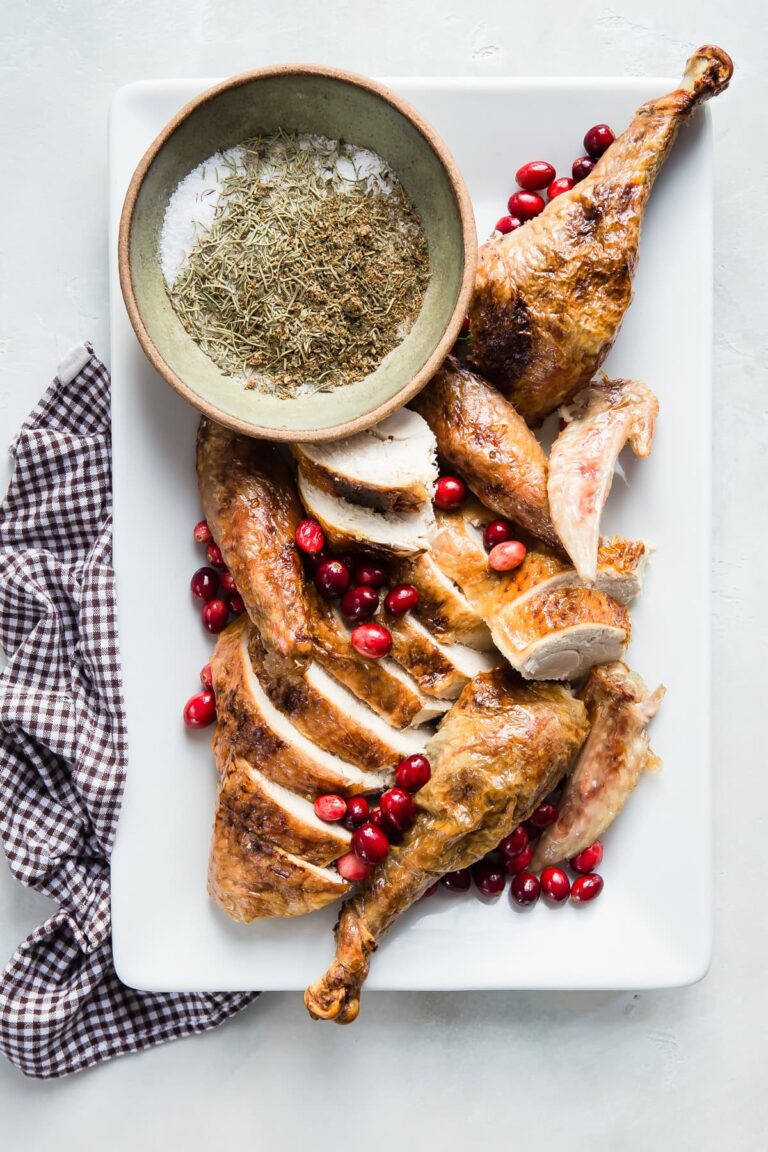
A juicy, flavorful turkey doesn’t have to be complicated. This simple dry herb brine seasons the turkey from the inside out and helps create tender, flavorful meat with beautifully browned skin. A little planning goes a long way—brine the turkey a day or two ahead, then let the oven do the rest.

The “Juicy & Crispy” Herb Brined Turkey

When you’re tasked with roasting a holiday centerpiece for a healthy, “stress-free” family feast, sometimes the best solution is skipping the bulky pot of liquid brine altogether. This Herb Brined Turkey uses a simple dry herb rub and a short rest in the fridge to create tender, juicy meat with crisp herbed skin right at home. It’s a “wholesome” twist that had the in-house testers absolutely thrilled—to the point where one could barely hear a muffled “pass another slice” through bites of juicy, holiday goodness!

Why This Recipe Wins

  • Dry-Brine Power: By rubbing dried herbs and salt directly onto the skin, the dish provides a “filling and tasty” turkey that locks in moisture without taking up giant buckets in the fridge.
  • Holiday Surprise: Moving away from a “standard tedious routine” of stressful wet brines makes Thanksgiving prep feel like an “easy peasy” walk in the park.
  • Naturally Crispy: Allowing the turkey to dry out uncovered in the fridge provides a “rich yet robust” crackly skin packed with herb flavor.
  • Leftover Ease: These “crowd-pleasing portions” roast up super tender, making them an ideal choice for epic weekend sandwich prep.

What You’ll Need

  • The Holiday Star: A 12–14 pound turkey (giblets set aside for homemade gravy).
  • The Herb Rub: Dried herbs and kosher salt combined for even, clingy coverage across the skin.
  • The Pan Steam: Chicken or vegetable broth poured into the bottom of the roasting dish for moisture.
  • The Roasting Essentials: A large roasting pan with an elevated rack and a meat thermometer.

How to Make It

  • The Herb Blend: Whisk the dried herbs and kosher salt in a bowl until the dry brine looks completely “velvety smooth” and uniform.
  • The Dry Rub: Pat the turkey thoroughly dry with paper towels, then rub the herb mixture inside and out, distributing it “thoroughly, but gently.”
  • The Fridge Chill: Refrigerate the turkey uncovered for 1 to 2 days on a lower shelf so the skin dries out and takes on a slightly “golden-brown” herb crust.
  • The Initial High-Heat Roast: Set the turkey on a rack in a roasting pan with broth in the bottom, tucking wings behind the neck, and roast at 450°F for 30 minutes.
  • The Slow Roast & Baste: Lower heat to 350°F, rotate the pan, and roast for 2 hours to 2 hours 15 minutes, basting every 30 minutes until a thermometer reaches 165°F–170°F.
  • The Rest & Slice: Rest the bird before carving into juicy, “mess-proof” slices for the feast!

Get the Kids Involved: The “Turkey Squad”

Since mixing herbs and setting up the feast is super interactive, this is a “ton of fun” for kids to help assemble and enjoy.

  • Ages 3–5: Let them be the “Herb Whiskers.” They can help whisk the dry herbs and salt together in a bowl, practicing their “precision.”
  • Ages 6–9: Have them help as “The Thermometer Watchers.” Show them how checking the internal temperature creates a “scrumptious” and perfectly cooked turkey.
  • Ages 10+: Let them lead the “Wing Tuck & Prep.” Under supervision, they can help tuck the wings behind the neck and pour broth into the roasting pan.

Tips for Success

  • Dry Skin is Crucial: If you don’t pat the turkey dry before rubbing, the brine won’t stick evenly. Letting it rest uncovered in the fridge is imperative to achieve that “tender and rich” crackly skin.
  • Prevent Burning: The goal is golden perfection, so tucking the wing tips and tenting the breast with foil if it darkens too fast ensures the bird stays “refreshing and light” without scorching.
  • The Safety Trick: Keep raw turkey on a rimmed tray on its own bottom shelf in the fridge to prevent cross-contamination.

Holiday Note: Dry brining saves tons of space! You get all the juicy benefits of wet brining without needing a giant pot in your fridge, making Thanksgiving prep a “quick and easy” success.

  • Variation: For a “decadent and indulgent” twist, rub softened butter under the skin alongside the dried herbs, or add garlic powder and smoked paprika for extra flavor depth.

Serve & Savor

The Herb Brined Turkey is a “tantalizing taste sensation” that proves holiday roasting can be “out of this world” effortless and delicious. It’s a “versatile” recipe that turns a classic Thanksgiving bird into a “memory-making” family favorite.

Print
clockclock iconcutlerycutlery iconflagflag iconfolderfolder iconinstagraminstagram iconpinterestpinterest iconfacebookfacebook iconprintprint iconsquaressquares iconheartheart iconheart solidheart solid icon

Herb Brined Turkey

5 Stars 4 Stars 3 Stars 2 Stars 1 Star

No reviews

A juicy, flavorful turkey doesn’t have to be complicated. This simple dry herb brine seasons the turkey from the inside out and helps create tender, flavorful meat with beautifully browned skin. A little planning goes a long way—brine the turkey a day or two ahead, then let the oven do the rest.

Ingredients

Scale
  • 1 whole turkey, 12–14 pounds
  • 3 tablespoons kosher salt
  • 1 tablespoon dried sage
  • 1 tablespoon dried thyme
  • 1 tablespoon dried rosemary
  • 2 cups turkey or chicken stock

Instructions

1. Prep the Turkey

Remove the giblets and save them if you’re making homemade gravy. Pat the turkey very dry with paper towels.

2. Make the Herb Brine

In a small bowl, whisk together the kosher salt, sage, thyme, and rosemary.

3. Season Well

Rub the herb and salt mixture all over the turkey, including inside the cavity. Make sure the seasoning is spread evenly over the skin.

4. Let It Brine

Place the turkey on a rack set over a large plate or baking sheet. Refrigerate it uncovered for 24–48 hours. This gives the seasoning time to work its way into the meat while helping the skin dry out for better browning.

5. Bring It Toward Room Temperature

Remove the turkey from the refrigerator 1–2 hours before cooking.

Preheat the oven to 450°F.

6. Start Hot

Tuck the wings behind the neck so they don’t burn. Place the turkey breast-side up on a roasting rack and pour 2 cups of turkey or chicken stock into the roasting pan.

Roast at 450°F for 30 minutes.

7. Finish at 350°F

Reduce the oven temperature to 350°F. Rotate the roasting pan 90 degrees to help the turkey cook evenly.

Continue roasting for about 2 hours to 2 hours 15 minutes, basting every 30 minutes. If the breast starts browning too quickly, loosely cover it with foil.

8. Check the Temperature

Insert a meat thermometer into the deepest part of the thigh, being careful not to touch the bone. The turkey is ready when it reaches 165–170°F internally.

9. Rest Before Slicing

Transfer the turkey to a cutting board and let it rest for 30 minutes before carving. This gives the juices time to redistribute so the meat stays moist.

Then slice, serve, and enjoy.

Notes

  • Plan ahead: The turkey needs 24–48 hours in the refrigerator for the dry brine, so start early.
  • Keep it contained: Place the turkey on a baking sheet or large tray while it brines to catch any drips.
  • Give it space: Keep the raw turkey on its own shelf in the refrigerator to avoid contact with other foods.
  • Don’t skip the thermometer: Cooking time can vary, so temperature is the best way to check for doneness.
  • Save the giblets: They can be used to make a flavorful turkey gravy.
  • Keep an eye on the breast: If it gets too dark before the turkey is finished, cover it loosely with foil.

Want To save this Recipe?

Picture of One Potato

One Potato

One Potato is a community and newsletter written by real people who are parents, having real conversations about our families, cooking traditions, and cultures.

Healthy New Year Recipe

Subscribe Here

Want to be a guest writer ?

Check out our Community Voices Info Page, and get in touch.

Advertise with Us

One Potato is a community and newsletter written by real people who are parents, having real conversations about our families, cooking traditions, and cultures. We are passionate about raising healthy and happy kids while navigating the challenges of picky eaters, dietary restrictions, busy schedules, and daily life.